
How To Make Car Look Dripping Wet And Glossy


Ever wonder why certain cars look dripping wet and shiny even though you have seen the same model and paint countless times?

The details are all in the preparation of flattening the car’s paint. The flatter it is, the shinier it is. This process is known as paint levelling or orange peel removal. It makes all the difference and it is the secret of what some would call mirror-finish and dripping wet look on paintwork.
Orange peel is a phenomenon that is common and natural, and yes, it exists on brand new cars as well.
Shine and gloss is determined by how uniform a light reflection is, and orange peel on paint distorts reflection of images, causing reflection of light and images to appear fuzzy. Let’s explore how we may get the best shine on your car and how to remove orange peel to produce the a permanent shine on your ride.

Traditionally, orange peel is removed by wet sanding. A process that uses sanding paper on a sanding block to shave off the wavy texture on a wet surface. While this technique is still relevant and applicable, there is also a quicker way to level a car’s paintwork.
Levelling with a polisher is less time consuming. It is also a practice that has been around for over 2 decades in most Asian Countries. It is a norm to see painters levelling a resprayed surface with a denim pad paired with an aggressive compound to remove orange peel on repainted cars.
We formulated a levelling compound that works exceptionally well with a dual action polisher to make it safer and user-friendly for detailers. One of the unique features of OSREN’s NAO Leveler 56 is that it doesn’t rely on heavy abrasive to remove orange peel. Rather it is formulated with clear coat softeners to allow even the hardest paint to be abraded with ease. (It is similar to the reverse concept of how a paint protection film is softened with heat to perform the “self-healing” feature.) By doing so, paint is safer and easier to polish and does not leave any deep swirls that are caused by aggressive abrasion.
We promise this is easy!
Let’s begin!
Step 1
Wash, clay and dry your car!
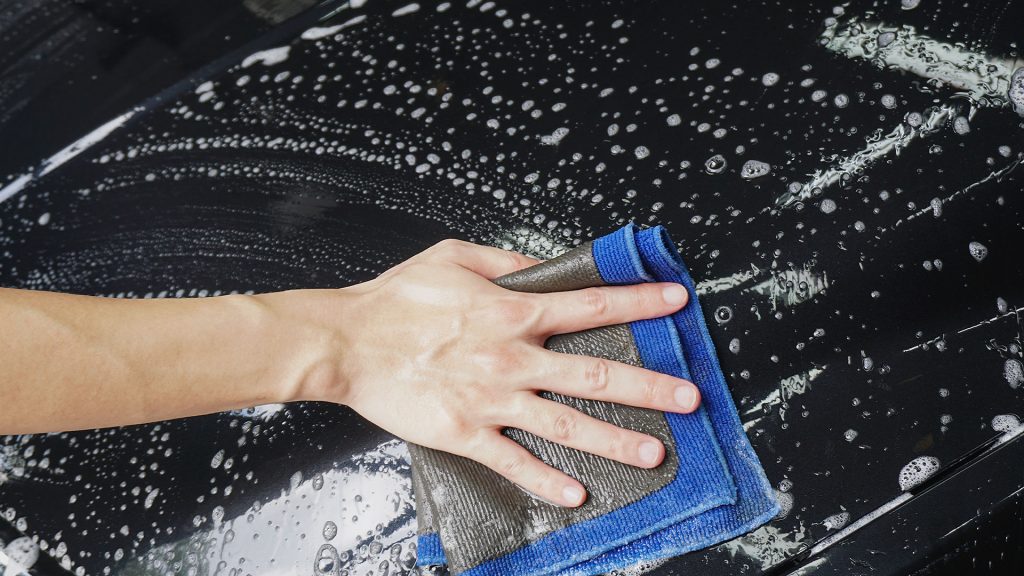
This is to ensure car paint is free of above-surface contamination before polishing or levelling the paintwork. If tar is present, remove with a tar spot remover.
Step 2
Tape edges and surfaces that need to be protected.
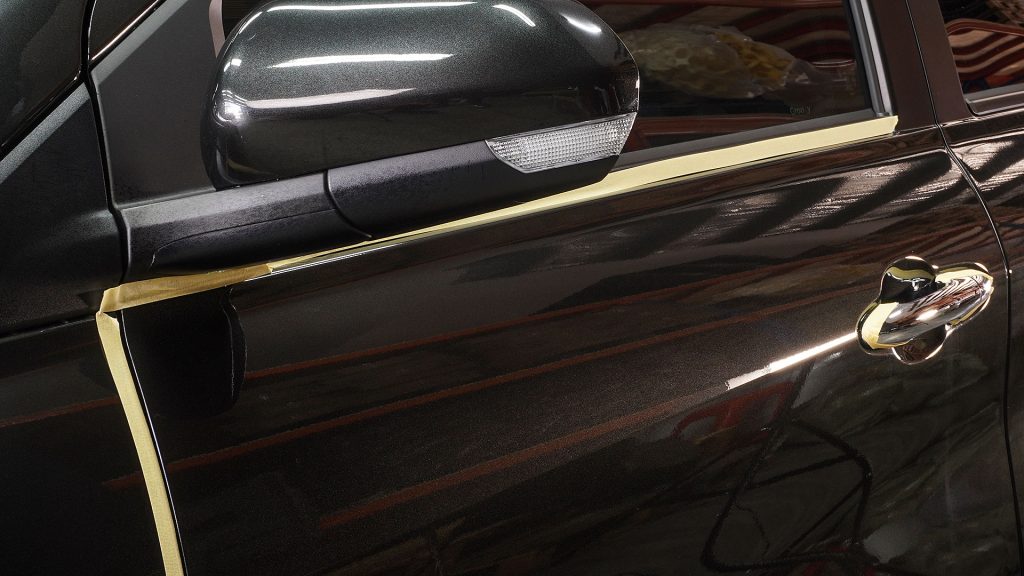
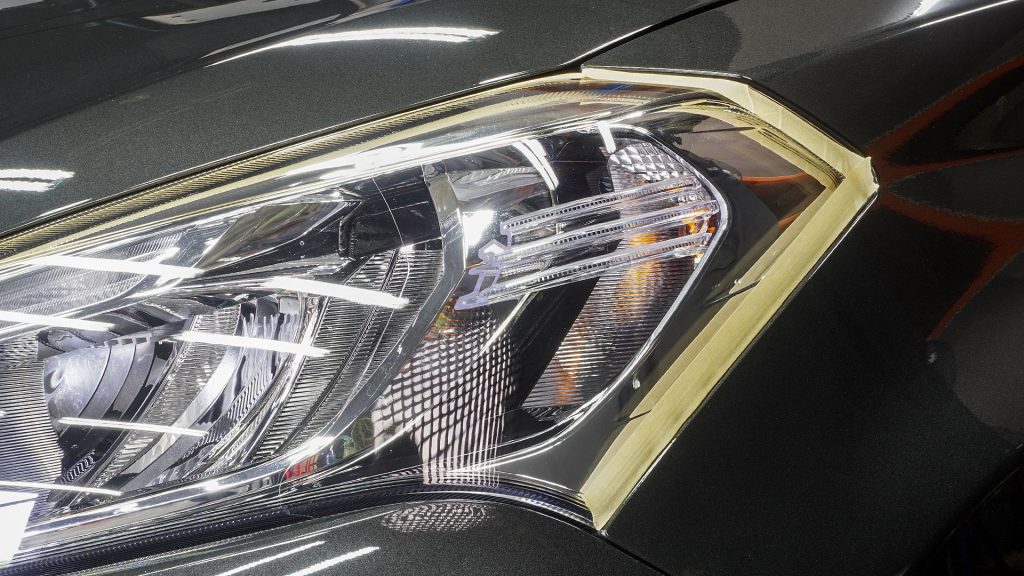
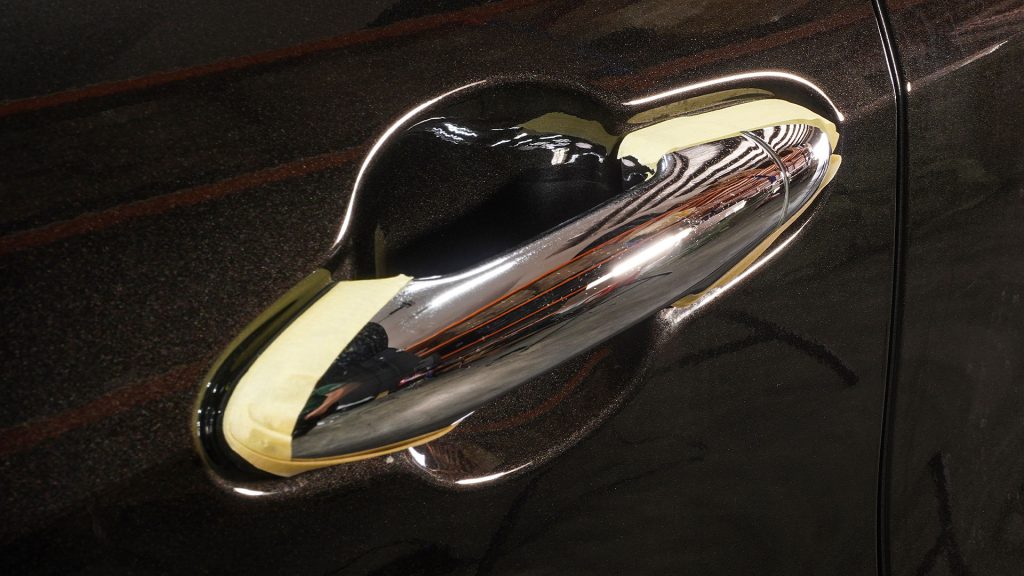
This step is necessary. Paint on edges are thinner and it is better to be safe than sorry.
Step 3
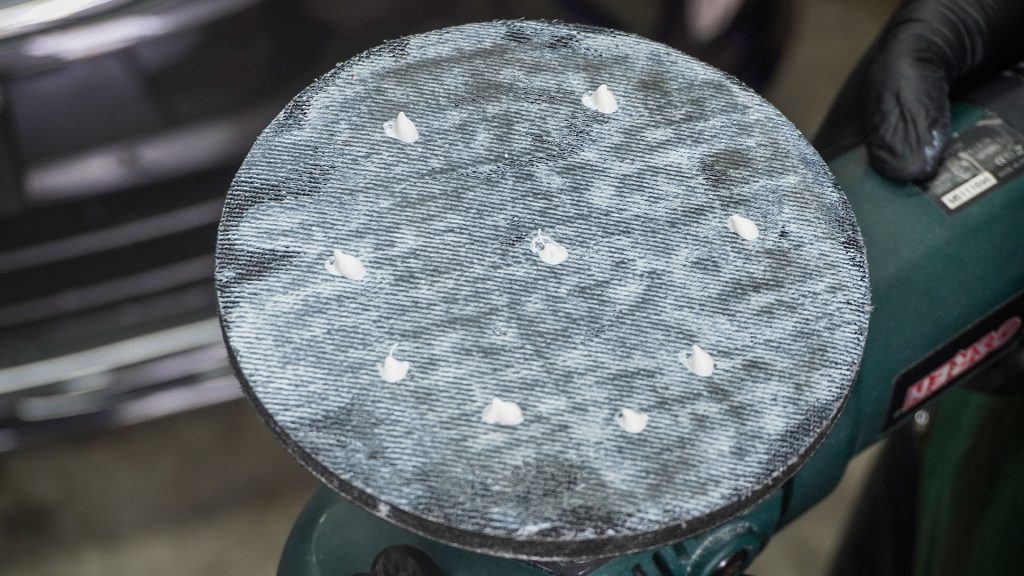
Prime your levelling pad with NAO Leveler 56.
For soft paints, we recommend using velvet pad to level.
For hard paints, we recommend using a denim pad to level.
Pads should be primed evenly to ensure even cutting and prevent dry surface from abrading the paint.
At this stage, divide the panel into smaller areas for levelling. Recommend 40x40cm size or smaller.
Step 4
Switch on the dual action polisher and polish at approximately 4000-4500opm with the Hurricane 2.0.

Pro tip: Use a straight light source as a visual indicator to know when levelling is sufficient.
At this stage, paint might look hazy, this is entirely normal. Here, observe the straightness of light, when light appears straight, it is levelled sufficiently.
Step 5
Move on to the next section and continue to level paint.
From this point onwards, there isn’t a need to prime pad. Priming pad is only necessary on new and clean pads.
Step 6
Switch up pads and polish abrasive, and begin correcting paint
On hard paint, we recommend NAO Quick Cut 48 with a Blue Nano Wool to remove swirls.
On soft paint, we recommend Perfect Cut 20 with a Blue Nano Wool to remove swirls.
Adjust polishing combination as desired to achieve a swirl-free finish. Further step-down polishing may still be required depending on paintwork.
Step 7
Rinse, wash and dry the car.
Apply any Last step product (LSP) you desire.
A good LSP will further enhance the gloss on your paint!
Step 8

Step back, admire the mirror-shine on your car.
Absolutely mandatory!
Here’s a technical video on leveling a paintwork with OSREN NAO Leveler 56 for a refresher.
We hope this will help you to understand how to achieve a dripping wet look on your car. If you have any questions on levelling, feel free to email us at [email protected] for any advice regarding the process.