
OSREN Headlamp Polish 18 – Quick Guide (How To Polish Headlamps)


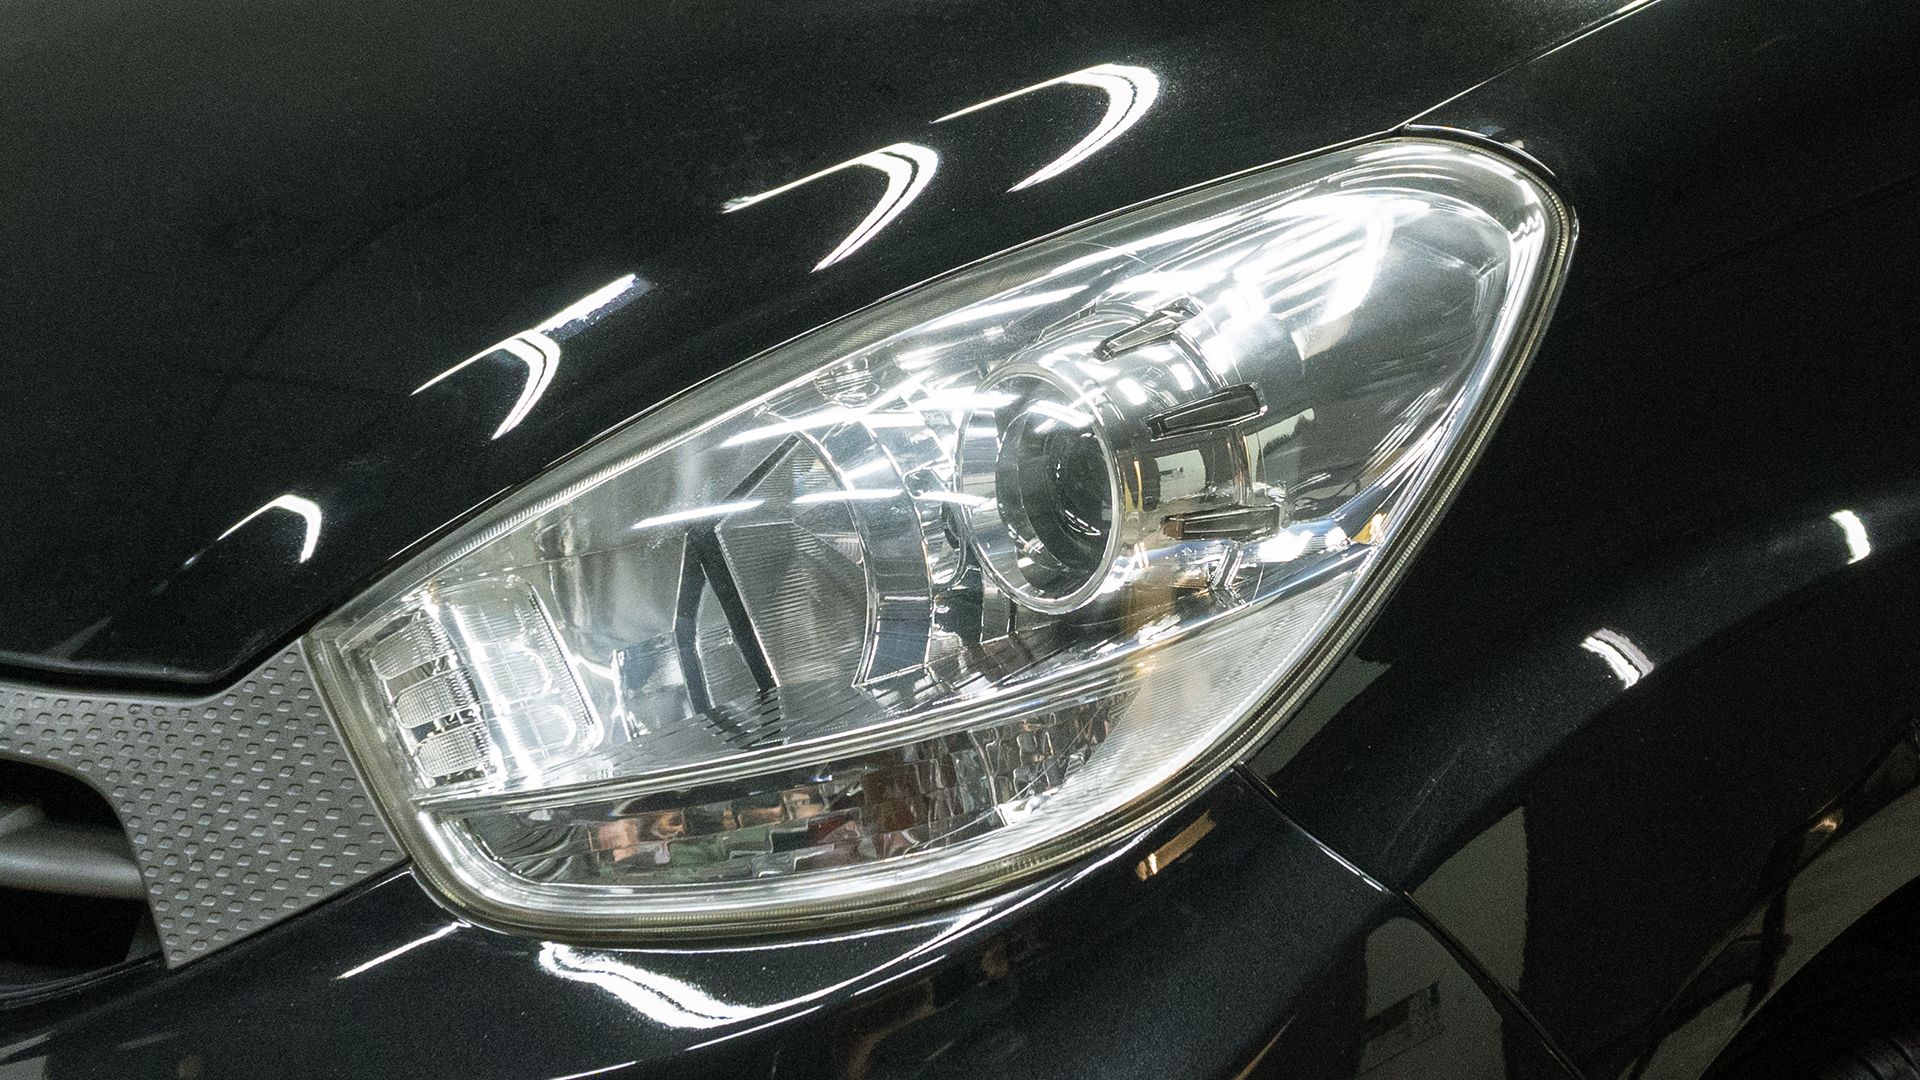
Let’s explore the restoration process with OSREN’s Headlamp Polish 18 that turns this:

To this:
What is Headlamp Abrasive 18 for?
OSREN’s Headlamp Abrasive is a versatile plastic headlamp polish abrasive that restores clarity to an automotive headlamp.

When do I use this?
When plastic headlamps have micro-scratches, oxidisation and other defects that dulls the headlamp. It is also used after the sanding process to restore clarity.
How do you recommend using it?
To remove sanding marks of p2000 (or above), or to remove the oxidised coating on the headlamp, pair the headlamp polish 18 with an aggressive wool pad and polish at medium to high speed.
To remove micro-scratches or swirls, pair the headlamp polish 18 with an ultra polishing pad and polish at medium speed.
Is the Headlamp Polish 18 safe for all plastic headlamps?
Yes. Plastic headlamps are made from polycarbonate for their durable function. As long as it is made of plastic, it is safe.
Can I use Headlamp Polish 18 for tail lamps?
Yes. It’s also safe and effective with tail lamps.
9 years ago, we wrote an article on how to polish headlamp. We will revisit the process again, with some additional tips that will help make things easier this round!
How to polish plastic headlamp with Headlamp Polish 18
1) Clean the headlamp and remove loose debris

2) Tape surrounding surfaces

Apply overlapping layers. This helps to prevent paint from being abraded or knocked over.
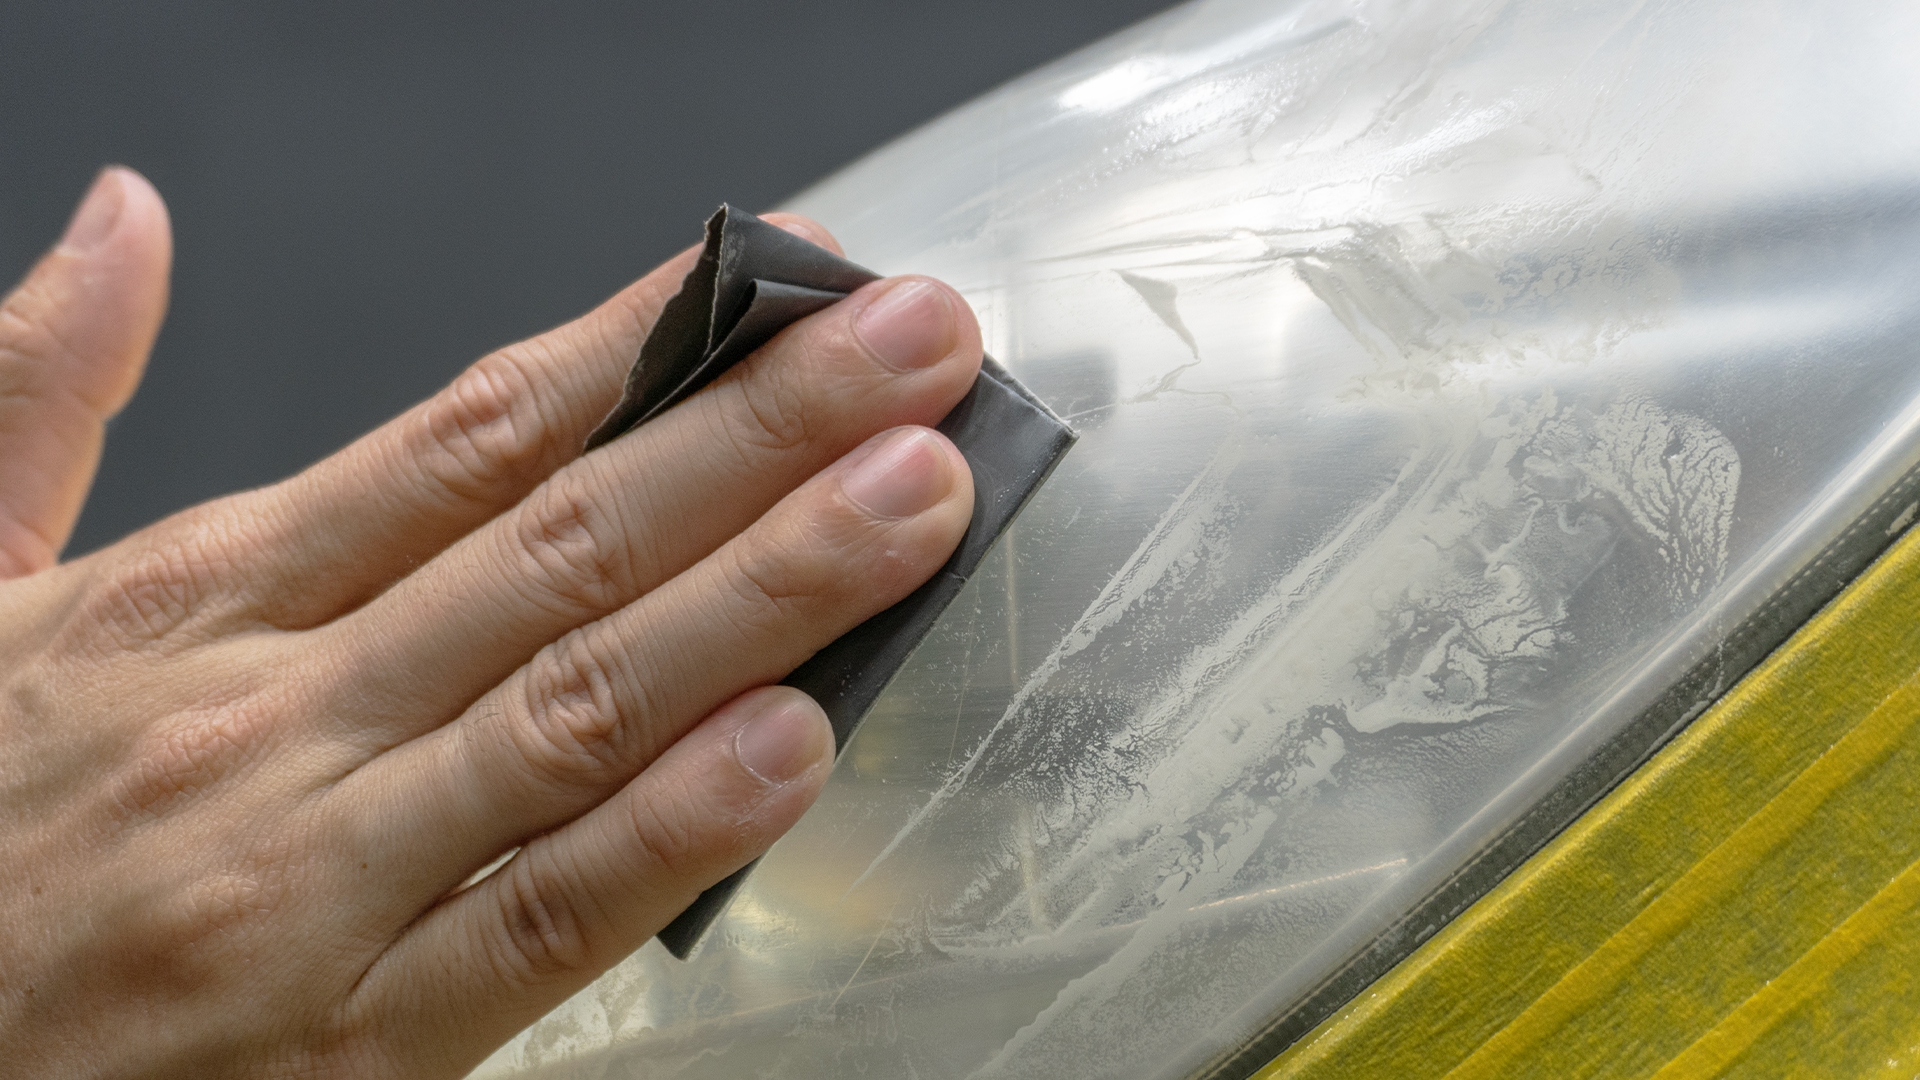
3) Optional: Sanding

This step is only required if the headlamp has oxidised and turned yellow. If the headlamp isn’t yellowish, skip to step 4.
If the oxidisation is severe, sand with a more aggressive grit. If the oxidisation is mild, 1500-2000 is sufficient.
Pro tip: Sand until the residues turn whiteish. This means that the yellowed oxidisation has been removed completely.

Oxidised clear coat is yellowish in colour
Sand till no oxidised residue (in yellow) is present
4) Polish with a wool pad.

Before polishing, ensure that the surface is clean and free of debris.
Unlike paint, plastics are hard. Hence, wool is more suitable to remove p2000 sanding marks and other severe defects on headlamps
We recommend using a rotary polisher at approximately 1200-1800 rpm.
If sanding was done prior to this step, ensure that it has been refined with a p2000 grit. This certainly ensures that no sanding marks will be visible.
5) Refine with a polishing foam pad.

6) Clean and inspect.

7) Apply coating on the headlamp and allow it to cure

Clean the surface with a pre-coating cleaner prior to coating application.
This is vital to prevent headlamps from oxidising prematurely. Without any form of UV protection, headlamps will oxidised in a matter of days or weeks.
If you have any further questions regarding Headlamp Polish 18 or the process of headlamp polishing, feel free to drop us an email or speak to us at [email protected] or any of our official char channels to reach out to us.