
Glass Abrasive 15 – Quick Guide


There are several ways to remove watermark on automotive windscreens and glasses on automotive, but not all are created equal. OSREN Glass Abrasive 15 is created to tackle main 2 concerns – Safety and efficacy.
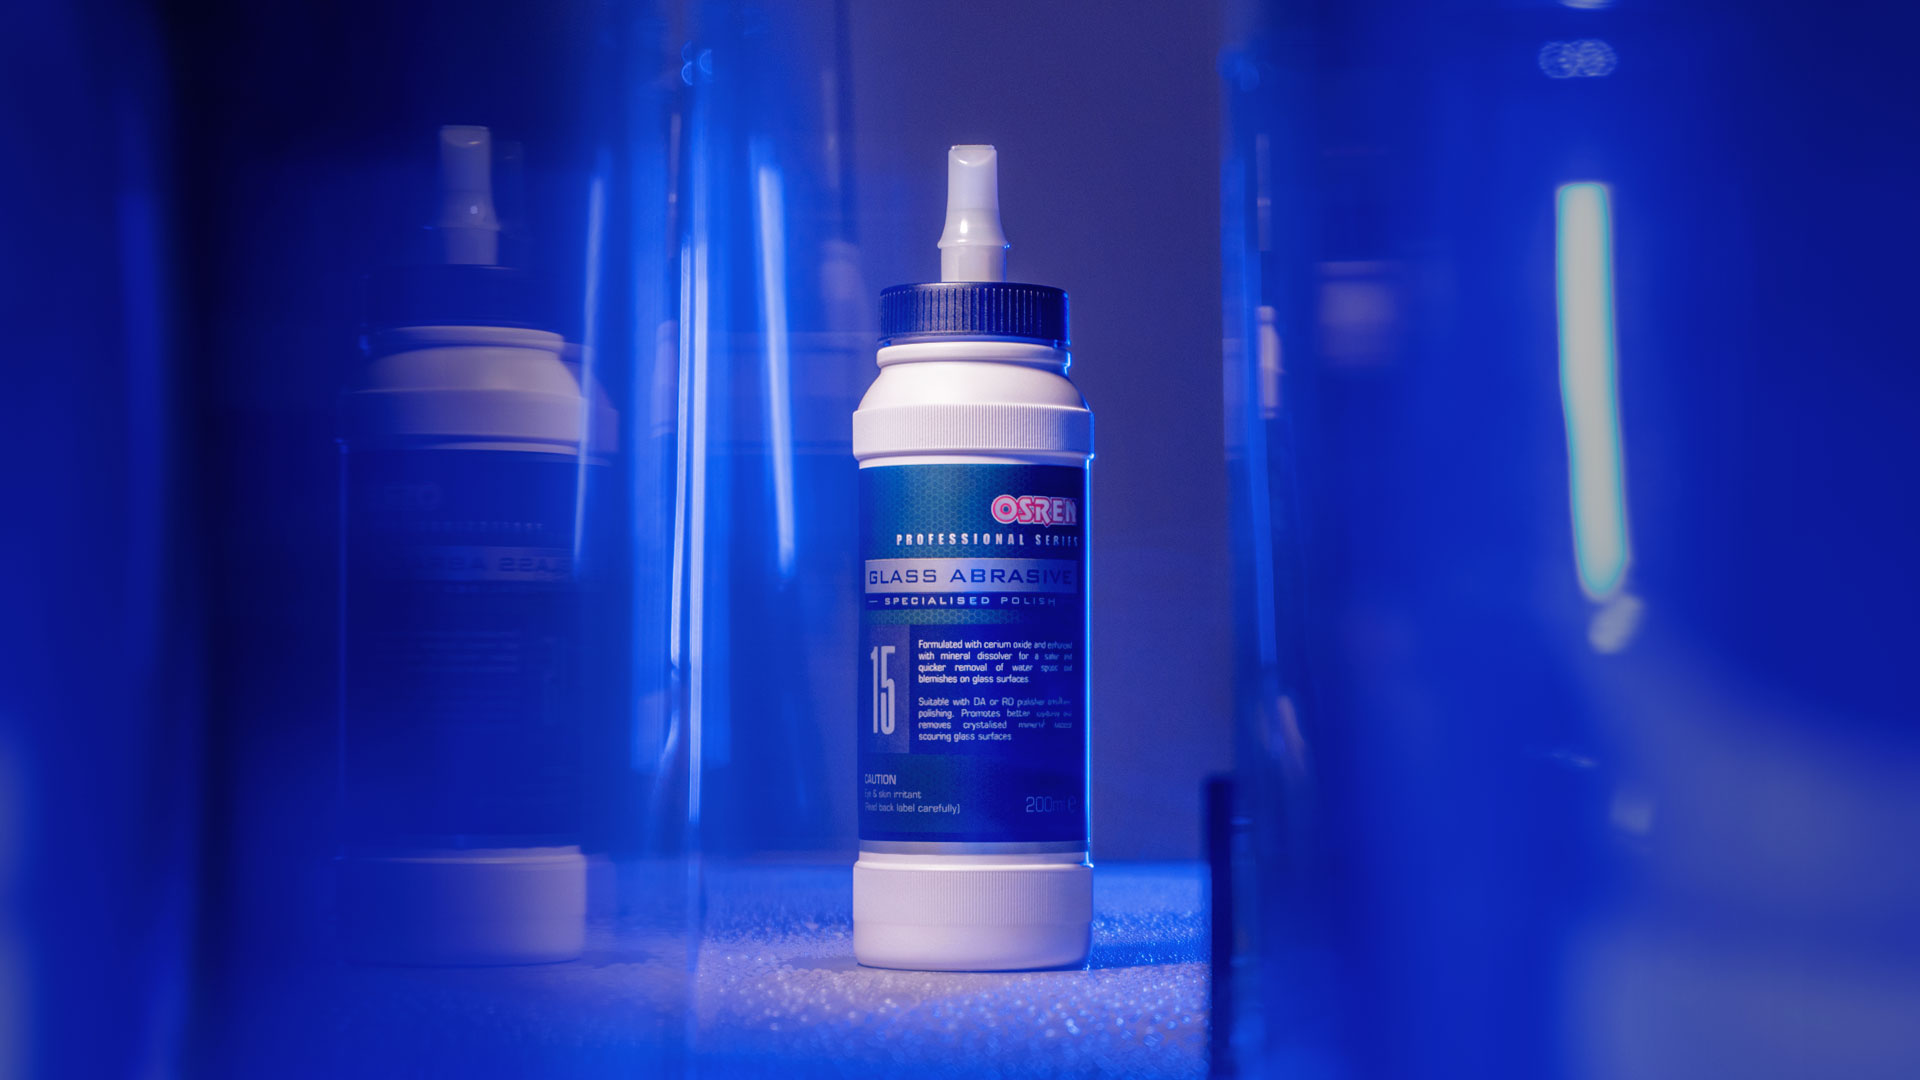
Let’s explore what make this polish standout from others!
OSREN Glass Abrasive 15 is a cerium-oxide based glass abrasive that’s extremely user-friendly and effective as it’s ready-to-use when paired with OSREN’s Vortex Rotary Polisher and OSREN’s Glass Polishing Disc.
It’s safe to be used on both windscreens and windows, or laminated and tempered glass.

Removing severe waterspots are effortless!

Removing severe mineral build-ups is a piece of cake with Glass Abrasive 15. Although we highly recommend polishing it before the watermarks are in severe condition, 4 pea drops of Glass Abrasive 15 on low speed polishing should do the job!
It also removes hairline wiper scratches.

Besides watermark, wiper marks also affect driving visibility. Glass Abrasive 15 is capable of removing hairline wiper marks with a polisher.
By hand, rotary or dual action polisher.

We highly recommend using a polisher for a quicker and less tiring approach. However, by hand, it is also possible to remove waterspots.
Sun/Moon Roof Friendly

The Glass Abrasive 15 can also be used on sun roof to remove watermarks safely.
Here are the steps to polish windscreens or windows with Glass Abrasive 15.
Step 1: Wash and Clay

Ensure windscreen and windows are cleaned with shampoo/cleaner and clayed prior to polishing. Dry windscreen and windows.
Step 2: Tape surrounding and adjacent surfaces

Rubber, plastic, trims and paint should be taped to avoid these surfaces from being polished.
Step 3: Squeeze 4-5 pea sized Glass Abrasive 15 on polishing pad.

A little goes a long way. For rotary polisher, we recommend attaching an interface foam to cushion the force, while for dual action polisher, there is no need for a soft interface foam.
Step 4: Polish small area of 1’x1’ at a time

Polish at a low speed, make multiple passes. Spray a mist of water when polish abrasive begins to dry, it helps to extend the polishing cycle.
Step 5: Inspect polished area with a damp microfibre cloth

Use a damp cloth and wipe across polished area. The water trail will indicate if the watermark is removed or not.
Step 6: Repeat step 4 and 5 on other surfaces

Step 7: For edges, use the GP kit tool

For edges where round polishing pad have difficult in reaching, the gp kit will be able to cover.
Step 8 (optional): Clean windscreen and glass, and apply coating

We highly recommend this as the coating will further enhance the hydrophobicity of the surface and makes driving easier during heavy downpour! It’s incredibly long-lasting too!
If you have any further questions regarding Glass Abrasive 15 or glass polishing, feel free to drop us an email or speak to us at [email protected] or any of our official chat channels to reach out to us!